Here's a recap:
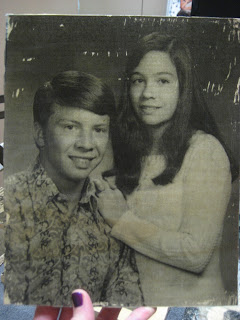
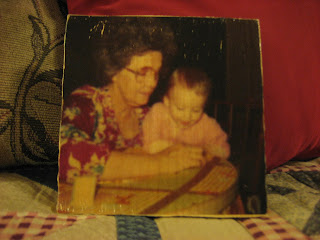
PHOTO TRANSFER TO WOOD. Very fun & not too hard.
Here's the tutorials I used:
1. "DIY wooden picture" http://www.youtube.com/watch?v=_NjYbAAQ4vw
2. "How to Transfer Prints to Wood: An Awesome Photography DIY Project" http://digital-photography-school.com/how-to-transfer-prints-to-wood-an-awesome-photography-diy-project
 |
| Granny Carter & her entire family |
 |
| Aaron's dad & uncle Mark |
 |
| Aaron's dad & mom |
 |
| Aaron's uncle Mark |
 |
| Aaron's sisters: Stephanie & Adrienne |
 |
| My uncle Holly & mom |
 |
| My mom, sister & me |
 |
| For Adrienne's (Aaron's sister) nursery |
 |
| My Grandmother & me |
2. Flip it & print off in black/white or color: this must be printed on laser jet printer only. Color from an ink jet printer will just sit on top of the wood & not soak in properly.
3. Put the photo face down on your untreated piece of wood (already cut to size).
4. Cover with Gel Medium & let sit overnight.
5. Next morning, wet the paper with a sponge or washcloth. There's a balance between being too wet & too dry. You'll learn as you go.
6. Slowly start rubbing off the paper. It's exciting to reveal your masterpiece a little at a time.
7. Once all of the paper is completely rubbed off (this is the most time-consuming part), let it dry overnight.
8. Next morning, brush Mod Podge over the picture. You can do an additional coat or two, just let the picture dry approx. 30 min. between each coat.
9. Attach desired brackets on the back (or none at all)
**************************************************************************
And then there were 3 headbands for my little niece.
Unfortunately, I did NOT knit the pink flower on the far right. I'm not quite there in my skills! It was a pin that I conveniently had hanging around.
Let's start planning for this year!!!!!

No comments:
Post a Comment